

Over the past few weeks we have produced and coloured in several Mandalas.
Used Record Mandalas
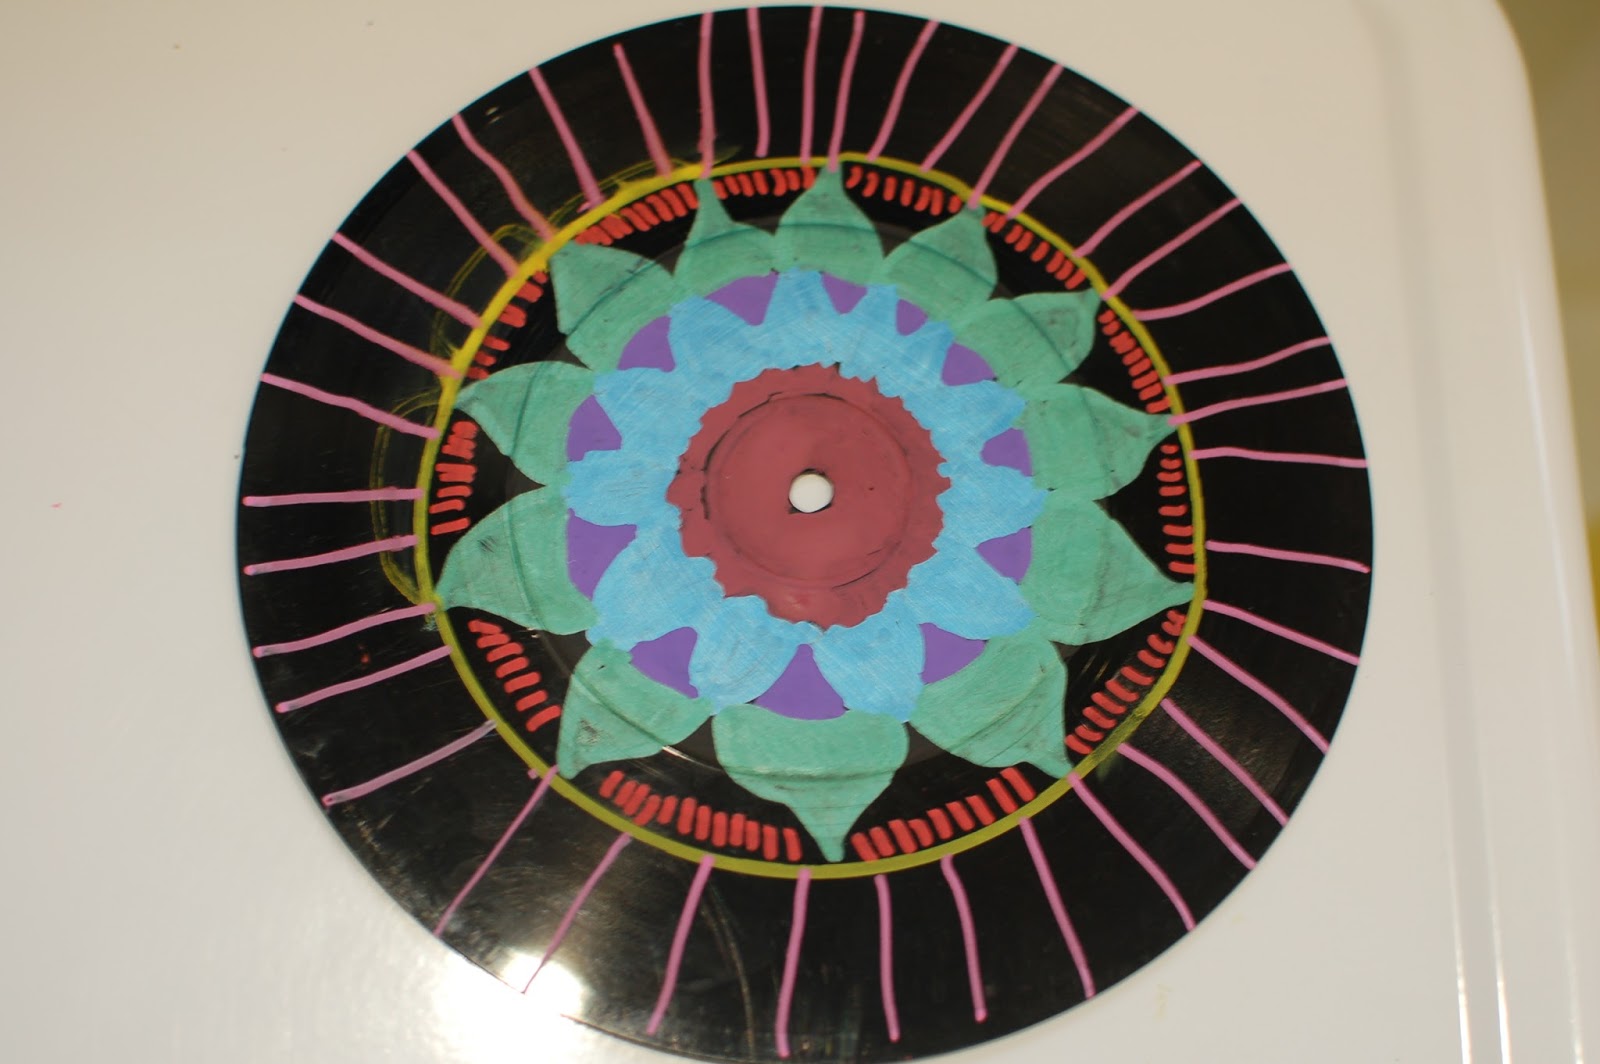
I was very lucky to be donated some old records for my art classes (thanks Fiona Guthrie!). For these I simply painted the middle part (which had writing) with black paint prior to the lessons. The children then created Mandalas on these using Posca Paint markers.


CD Spinning Top Mandalas
These were similar to our used record mandalas yet this time we used old CD's and I hot glued a marble into the hole in the center of each one. This makes them spin if you hold the marble in the middle and give them a bit of a flick. I loved this lesson as all the children gathered on the floor of the art room to watch their CD's spinning away.


Tibetan Sand Mandala
If you have ever watched a time lapse video of Tibetan Monks making a sand mandala you will know how absolutely memorising it can be. If you haven't ever watched one - you must. There are lots on you tube here are two of my favourites:
https://www.youtube.com/watch?v=ga5s_qYgJS8
https://www.youtube.com/watch?v=KyqVDewZ2kU
I decided this would be a great group activity for our last class of the term. It went really well and as predicted some children were really into it and others not so much, yet everyone gave it a go and they all loved the destruction of it at the end.
 |
| Monday Class Sand Mandala |
What you need:
First you need to dye your sand. I just bought play sand from Bunnings (hardware store). I placed about 8 handfuls into a large ziplock bag with a few squirts of food colouring and mixed it up. I put this sand out in the sun on newspaper to dry. Once dry I placed it into small snack size zip lock bags ready for using.
I used a large piece of MDF for the board and hand drew a Mandala on this for the children to follow. If you had time you could get the children to draw this themselves yet we were limited to just over an hour so we didn't have the time.
 |
| Tuesday Class Sand Mandala |
How To:
I cut off a very small corner on the snack zip lock bags and placed a black texta line there so children knew which corner to pour from. We then just poured the sand onto the mandala from the bags. You could try making your own funnels out of paper. We also used wooden skewers and small paint brushes to move the sand around.
I really just left the children to this as I was busy in the art room doing other things (children also had free choice activities to do and finishing off). Children were allowed to come and go from the mandala and do as much as they wanted. I'm really pleased with what they produced in the short time and how well they worked as a group.
 |
| Thursday Class Sand Mandala |
At the end of the lesson when the mandala was complete all the children gathered around it. They could say or think a blessing for the mandala. I then gave each of them a small piece of cardboard and they wiped the sand into the middle. We then bagged the sand and since I have a little man made river in our garden the children either scattered the sand in this or took some home.


We talked about how sometimes things are not permanent and they shouldn’t get too attached. You have to be content knowing that anything can destroy your work (eg pottery can blow up in the kiln or paint accidentally spills on your work). Sometimes you do the art for the sake of the art, not for the sake of keeping it.
Fiona
No comments:
Post a Comment